3DPrompt.
GitHub
Back to the library
Kimi K3Reference brief

Single-file WebGL2 black hole raytracer prompt for Kimi K3

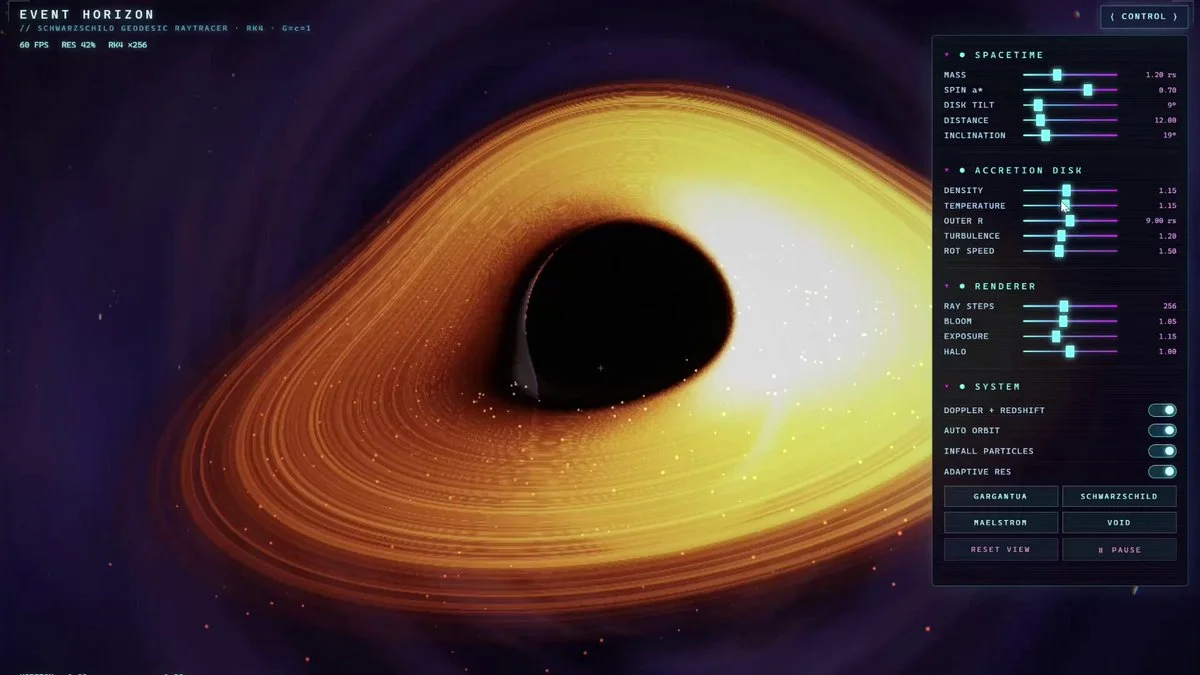
Prompt to build a self-contained HTML/WebGL2 Schwarzschild black hole simulation with raytracing, lensing, accretion disk rendering, and interactive controls.
Created by HarshView original source
Single-file WebGL2 black hole raytracer prompt for Kimi K3

About this example

A starting brief based on the creator's public project, not a verbatim original prompt. Your result will vary.

Kimi K3WebGL2black hole simulationraytracersingle HTML fileGLSLgravitational lensingaccretion disk

The prompt

Create a complete, self-contained single HTML file (no external libraries like Three.js) that implements a real-time geodesic raytracer for a Schwarzschild black hole inspired by Gargantua. Use raw WebGL2 with GLSL ES 3.00 in a single fragment shader. Implement accurate physics: null geodesic integration with 4th-order Runge-Kutta solver, event horizon, photon sphere, accretion disk with proper rendering, gravitational lensing, Doppler beaming, and gravitational redshift effects. Target stable 60 FPS performance. Include mouse-controlled camera orbiting/zooming, and a cyberpunk-style control panel with sliders for parameters (mass, spin, disk density, view angle, etc.). Add subtle particle effects for matter falling in and dynamic lighting/shadows. The output must be 100% complete, immediately runnable in a modern browser, with no black screen, NaNs, errors, or missing features. Prioritize numerical correctness, boundary handling, solver discipline, and physical accuracy above all. Verify and comment key physics equations in the code. Make it visually stunning and interactive like a premium physics demo/game.

How to use this prompt

01

Start with the right workspace

Open your preferred coding assistant or 3D tool. Use the model shown on the example as a starting point, and check any linked project for setup instructions.

02

Choose one thing to change

Swap the subject, art style or setting. Keep the camera and interaction clear. Build a small version first, then refine one detail at a time.

03

Give the scene its own assets

For a custom character or prop, create a 3D model from a short object description or reference image, then bring it into your project.

Previews belong to their respective creators. Check the original source and project license before reusing code or assets.